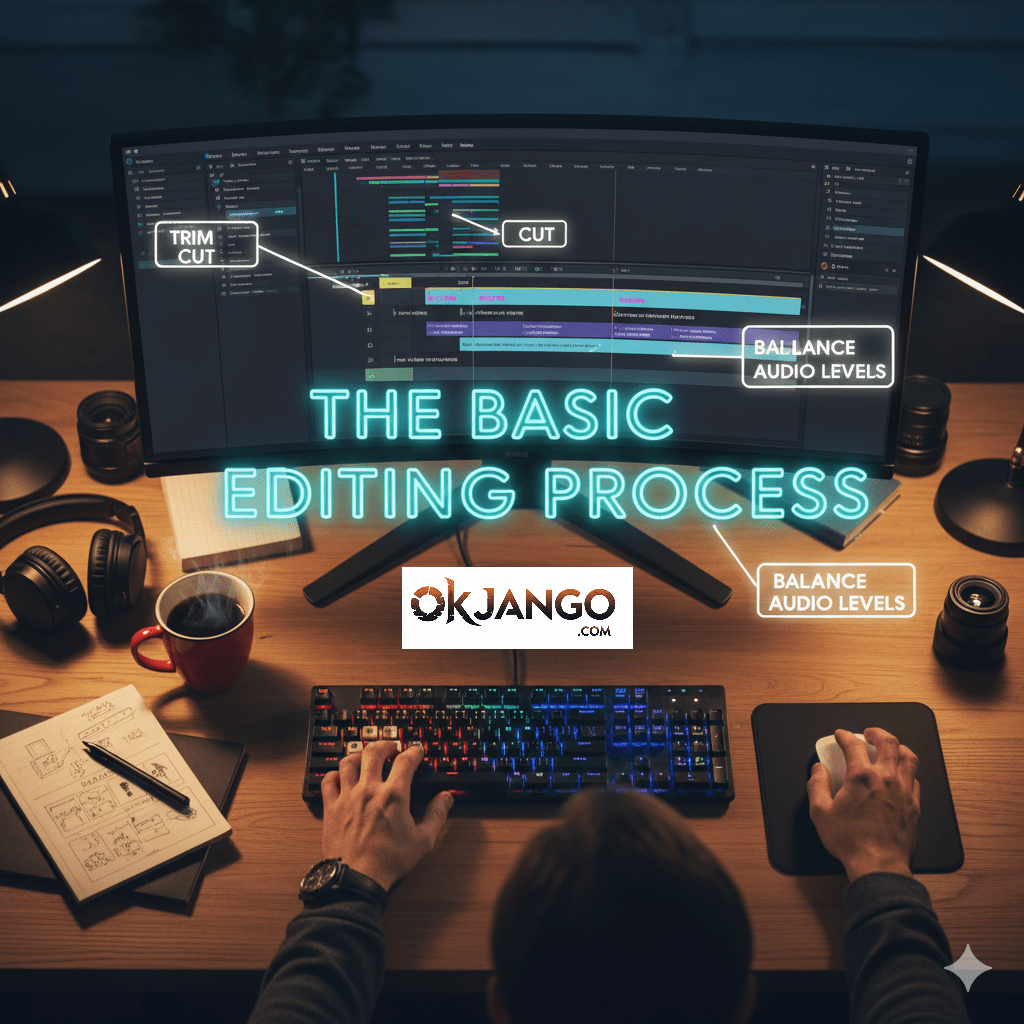
Video editing can seem daunting, but with the right tools and a solid plan, you can turn your raw footage into a captivating story. Whether you’re making videos for social media, a personal project, or a YouTube channel, here’s a step-by-step guide to get you started on how to edit videos.
1. Plan Before You Edit Videos
The most common mistake beginners make is jumping right into the software without a plan. The best editors start their work before they even hit record.
- Organize Your Footage: As soon as you finish shooting, create a clear folder structure on your computer.
Separate your video clips, audio files, images, and other assets into their own folders. This will save you countless hours of searching for files later.
- Create a Storyboard or Outline: You don’t need a Hollywood-level script.
Even a simple outline can help you visualize the flow of your video.
Think about the key moments, what you want to say, and the order of your scenes. This will guide your editing decisions and prevent you from getting lost.
2. Choose the Right Software
The right software depends on your budget, skill level, and the type of videos you want to create.
Here are a few popular options, categorized by their compatibility with different operating systems.
Cross-Platform (Windows, Mac, and Linux)
| Software | Platforms | Key Features |
| DaVinci Resolve | Windows, Mac, Linux | Industry-standard for color grading; robust free version with a full suite of editing, color, and audio tools. |
| Shotcut | Windows, Mac, Linux | Free, open-source editor that supports a wide range of formats; offers features like video filters and effects. |
| Kdenlive | Windows, Mac, Linux | Free, open-source with advanced features like multi-track editing, a customizable interface, and a variety of effects and transitions. |
| Blender | Windows, Mac, Linux | Primarily a 3D creation suite, but includes a powerful video editor that is free and open-source. |
For Windows and Mac
| Software | Platforms | Key Features |
| Adobe Premiere Pro | Windows, Mac | Industry standard for professional video editing; deeply integrated with the Adobe Creative Cloud. |
| CapCut | Windows, Mac | Powerful free option, great for social media; offers automatic captions and a wide range of effects. |
| Wondershare Filmora | Windows, Mac | User-friendly interface with a balance of easy-to-use tools and creative effects. |
Mac-Specific
| Software | Platforms | Key Features |
| iMovie | Mac | Free and pre-installed; user-friendly and perfect for simple projects. |
| Final Cut Pro | Mac | Optimized for macOS and Apple Silicon; known for its speed and efficient workflow. |
3. The Basic Editing Process
Once you have your software and your plan, you’re ready to start.
| Step | Description | Tips |
| Import and Assemble | Bring all your organized footage into the editing software and arrange the clips on the timeline in the correct order to create a rough cut. | This is the foundation of your video, so ensure the sequence aligns with your storyboard or outline. |
| Trim and Cut | Go through the timeline and remove unwanted parts from the beginning and end of each clip. Don’t be afraid to make cuts to improve the pacing and keep the audience engaged. | Use jump cuts to quickly remove filler words or pauses, making the video feel more dynamic. |
| Add B-Roll | Use supplemental footage, known as B-roll, to cover up cuts, add visual interest, and help tell your story. | For a talking-head video, add B-roll of related visuals to illustrate what you’re talking about and avoid showing the same static shot. |
| Incorporate Audio | Add background music, sound effects, and balance the audio levels to create a polished final product. | Make sure your voice is loud and clear, and the background music is at a lower volume to prevent it from overpowering your speech. |
4. Polishing Your Video
The final touches can take your video from good to great.
- Transitions: While a simple cut is often best, use transitions like a crossfade or dissolve to smoothly move between different scenes. Avoid using too many fancy transitions, as they can be distracting.
- Color Correction and Grading: Make sure the colors in all your clips are consistent. Then, use color grading to apply a specific look or mood to your video.
- Titles and Captions: Add on-screen text to introduce subjects or add captions. Captions are especially important, as many viewers watch videos with the sound off.
- Keyboard Shortcuts: Learn the shortcuts for your most-used functions (like cutting and splitting clips). This will drastically speed up your workflow.
5. Export and Share
When you’re happy with your final edit, it’s time to export. Choose the right format and settings for the platform you’re publishing to (e.g., YouTube, Instagram, TikTok).
Remember, the best way to get better at editing is to practice. Start with a simple project, experiment with your software, and have fun telling your story.
Video Editing Software Links
| Software | Platform(s) | Link |
| DaVinci Resolve | Windows, Mac, Linux | https://www.blackmagicdesign.com/ca/products/davinciresolve/ Tutorials: DaVinci Resolve Learning – Blackmagic Design provides free, comprehensive training resources on their website. |
| Shotcut | Windows, Mac, Linux | https://www.shotcut.org/ Download Page: https://www.shotcut.org/download/ |
| Kdenlive | Windows, Mac, Linux | https://kdenlive.org/ User Manual: https://userbase.kde.org/Kdenlive/Manual/ |
| Blender | Windows, Mac, Linux | https://www.blender.org/download/ |
| Adobe Premiere Pro | Windows, Mac | https://www.adobe.com/products/premiere.html Tutorials: Adobe Premiere Pro Learn & Support – Adobe’s official support page with a vast library of tutorials and guides. |
| CapCut | Windows, Mac | https://www.capcut.com/ https://www.capcut.com/tools/video-editor-download |
| Wondershare Filmora | Windows, Mac | https://filmora.wondershare.com/ |
| iMovie | Mac | https://apps.apple.com/us/app/imovie/id408981434?mt=12 |
| Final Cut Pro | Mac | https://www.apple.com/final-cut-pro/ |
Read more blogs at : Okjango.com


